PG_Project 3: Identify dogs with TensorFlow
Introduction
With increasing applications developed with ML models like numeral networks such as Flower recognition, animal recognition. This project want a step further that you need to develop a service to recognise a dog picture.
It means you need to train a machine learning model and load and host your model on a service.
Model Developing
The first stage is to develop a model. You may already have a model that you’ve been training that’s ready to be deployed. There are a few ways to ready your model for deployment using TensorFlow. You can use the SavedModelBuilder functionality with Go. Or you can use TensorFlow’s ‘freeze graph’ functionality to export the entire graph as a Protocol Buffer to use for serving.
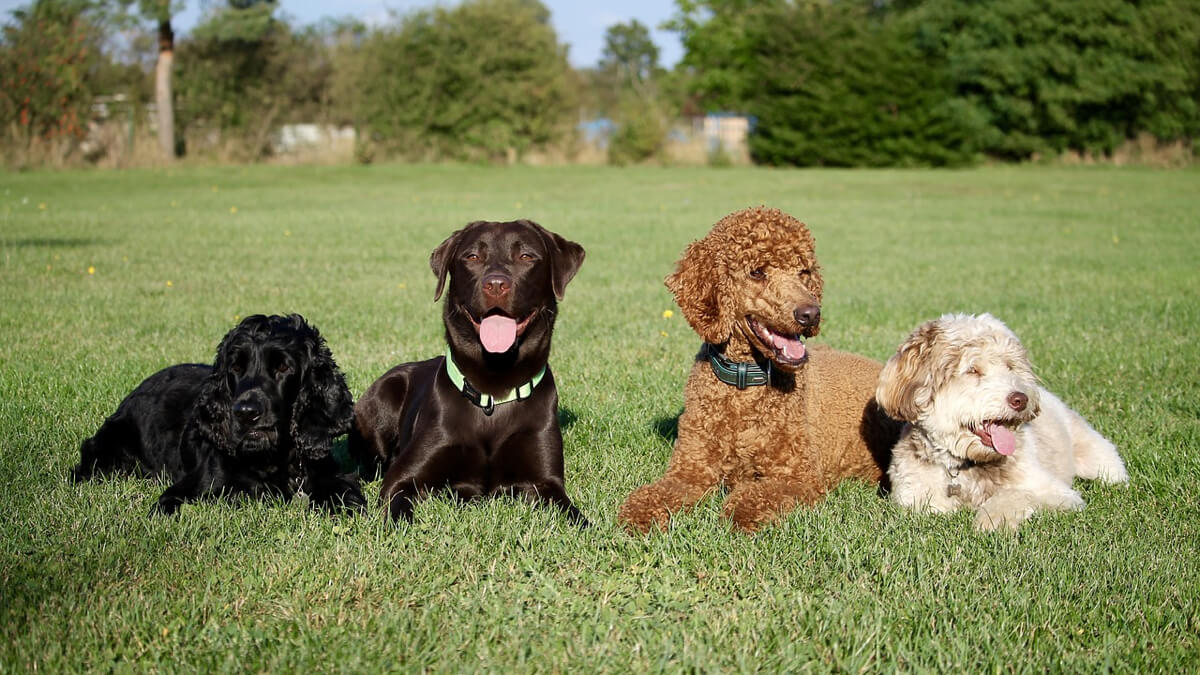
For this project, you need to develop a super-powerful AI that is able to determine the difference between Poodles, Pugs, and Weiner Dogs (Dachshunds).
Suggestion is to use a retrained version of Google’s Inception or MobileNet models. You need to train your model as much as possible. If you’re looking for an excellent introduction and tutorial of how to retrain these models, you can work through this codelabprovided by Google.
Retraining the Inception or MobileNet models is actually extremely straightforward. You can train it to classify entirely new categories of objects simply by providing a series of images in a labelled subfolder. It will then take those images, classify them with the label (ie. the folder name) and output a newly trained model in .pb format.
Once we’ve trained our model to identify these key dog breeds you need to create a service to make it available to the world.
For performance reasons you may use the MobileNet model. It is optimized for use on mobile devices. This model sacrifices some accuracy for speed.
YOu can then adapt one of Google’s label scripts that contains useful utility functions for loading graphs and transforming images into tensors to use with TensorFlow. This adapted script will become the basis for our inference service.
Building The Service
Once you’ve re-trained our model and exported it to disk you can host the model as a service. you’ll load the model from disk with a simple function that takes the graph definition directly from the file and uses that to generate a graph. TensorFlow does most of this:
def load_graph(model_file):
 graph = tf.Graph()
 graph_def = tf.GraphDef()
 with open(model_file, "rb") as f:
   graph_def.ParseFromString(f.read())
 with graph.as_default():
   tf.import_graph_def(graph_def)
Using Flask, much of the heavy-lifting around configuring a server and handling requests is done for you. After you’ve created a Flask app object:
app = Flask(__name__)
Then you can easily create routes for where your classification service will live. Let’s create a default route to classify() function that will allow us to pass an image to the endpoint for identification.
@app.route('/')
def classify():
Using the decorator syntax to define the route, it will configure the service so that the classify() function will be called every time someone hits the root of our service address.
Remember that We said we wanted users to be able to specify a file to be identified so we’ll store that as a parameter from the request:
file_name = request.args['file']
In an actual app we’d probably populate this from a form attachment or URL. For our example we’ll simply let users specify a path to the file that they want identified.
We can then read the image file and turn it into a tensor to be used as input to the graph we loaded previously. The base script included a number of useful functions including read_tensor_from_image_file() which will take the image file and turn it into a tensor to use as input by using a small custom TensorFlow graph.
Running the inference on our graph with this image is again quite straightforward:
       results = sess.run(output_operation.outputs[0],
                     {input_operation.outputs[0]: t})
In this line, the variable ‘t’ represents the image tensor that was created by read_tensor_from_image_file() function. TensorFlow will then take that image and run the new retrained model to generate predictions.
Those predictions come as a series of probabilities that indicate which of the classes (poodle, pug, or weiner dog) is the most likely. Since this is just a prediction service, it will simply return a JSON representation of the arrays.
Inside our script we can start our service with:
app.run(debug=True, port=8000)
Then, if we want to launch the script from the command line, all we have to do is run python app.py`and it will initialize and start running on port 8000.
Test The Service
We can now use this service either by visiting it in a web browser or generally making any REST call on that port. For an easy test we can access it using curl:
curl localhost:8000?file=path/to/poodle.jpg
So, if we feed it the following image of my standard poodle, Orion, let’s see what it says:
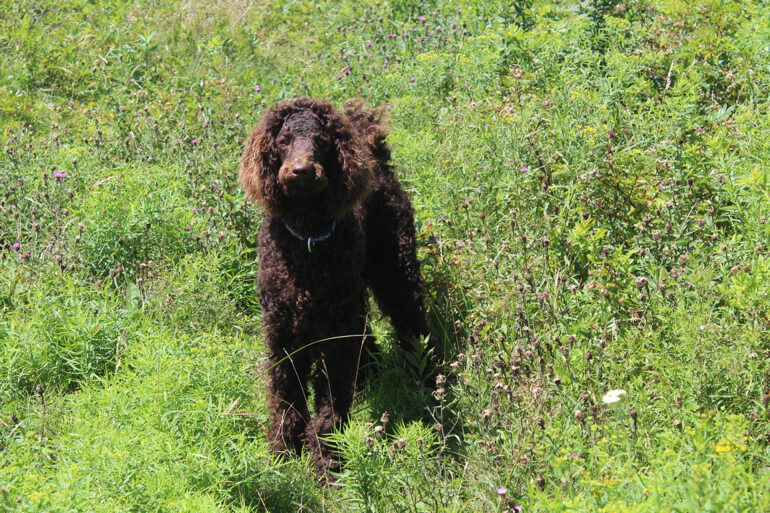
The output is:
[
  [
    "poodle",
    "pug",
    "dachshund"
  ],
  [
    0.9994891881942749,
    1.1696176443365403e-05,
    0.0004991634050384164
  ]
]
Success! The TensorFlow model is 99.9% sure that this guy is a poodle!
The example code and model for this post is available on GitHub in the tensorflask repo. You can download it and deploy your own super-powerful dog identification service!
References
- Sample code on my github repo.
- Poodle, Pug Or Weiner Dog?
- Building an ML-Powered Game AI using TensorFlow in Go
- Advanced Guide to Inception v3
Last updated: 25/03/2020