Generate an Avatar-based Movie Using AI models
Introduction
ChatGPT the most disruptive Artificial Intelligence and the powerful tool on the internet has stomed the world. ChatGPT has revolutionized the way we interact with AI models. With its advanced natural language processing and machine learning capabilities, ChatGPT has opened up new avenues for communication, learning, and creativity.
It has paved the way for more intelligent products like virtual assistants, personalized language tutoring, and even automated content creation.
You may have seen headlines about chatGPT being able to replace jobs and write documents and emails and answer questions and the list goes on and on. You also see many YoutTube channels talking about how to make money or create movies using chatGPT related AI models.
I have gone to try it out myself and with a creation of a movie for our University Opne Day. ChatGPT and a few other AI Generative models together provide an efficient and user-friendly way to create an engaging avatar animations. I can do it and I am sure anyone can create a high-quality, personalized video too.
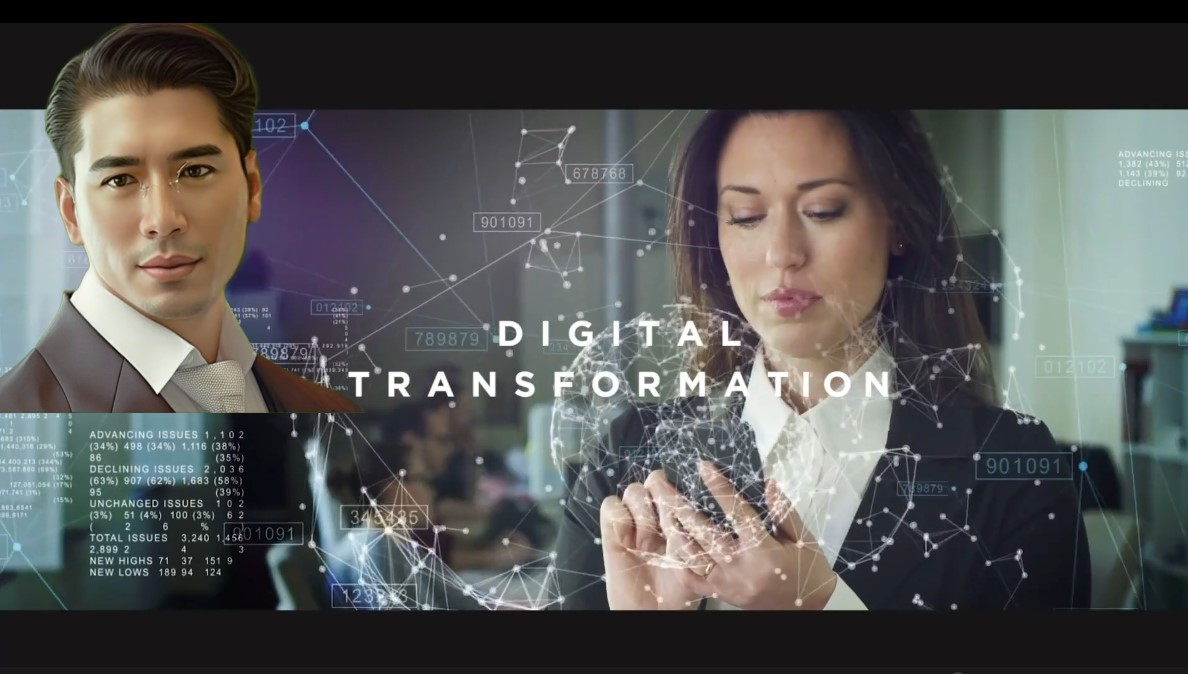
Here are the end products
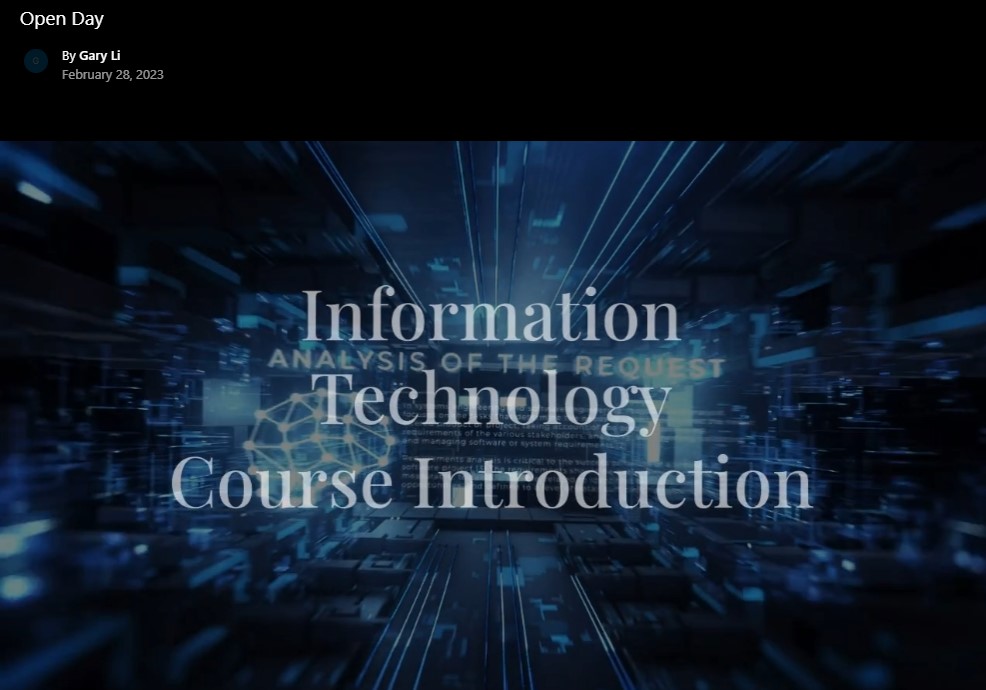
Both movies are also avalaible on youTube:
Steps to creatre an animated avatar movie
Here are the procedures and the steps you need to take.
Step 1: Create your movie script
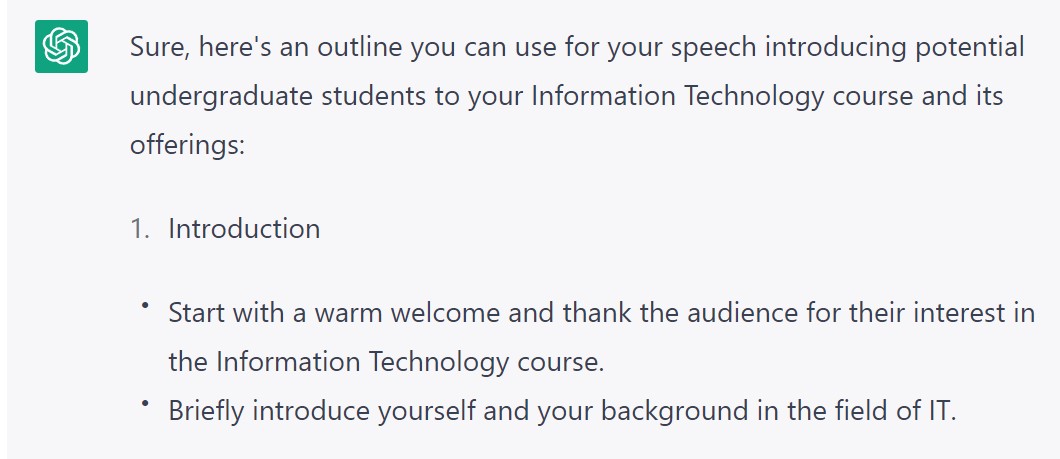
I create my script using CharGPT. It may need multiple rounds of correction, clarification, and formulation. I start simply tell chatGPT as “I am going to deliver an introduction to potential UG students. Can you outline a speech that include brief introduction of Information Technology course and our offers.”
ChatGPT comes up with a pretty detailed draft like this one.
 and there are other 4 points including:
- Overview of Information Technology Course
- Provide a brief overview of the Information Technology course, explaining what it is and what it covers.
- Highlight the importance of IT in today’s world and the demand for skilled IT professionals.
- Course Offerings
- Outline the various offerings and opportunities available to students in the IT course.
- Mention the core courses that students will take, such as programming, database management, and cybersecurity.
- Highlight any specializations or concentrations available within the IT program, such as web development or artificial intelligence.
- Discuss any extracurricular activities or clubs related to IT, such as hackathons or coding clubs.
- Benefits of Studying Information Technology
- Discuss the benefits of studying IT, such as high demand for skilled IT professionals, competitive salaries, and opportunities for growth and advancement.
- Emphasize the versatility of an IT degree, as it can be applied to various industries and fields.
- Admissions and Application Process
- Provide information about the admissions and application process, including any requirements or prerequisites.
- Highlight any important dates or deadlines, such as application deadlines and orientation dates.
- Explain any scholarships or financial aid options available to students.
It is complete but much information unnecessary since they are available on the university website and surly the students have read them already. I thought the import point is to give them a chance to taste what is like to be a IT student and how a lecture and a practical sessions are conducted. Therefore, I ask ChatGPT to get ride of the info available on the website and add taste session in. … After a few rounds of discussion. I am happy with the final scripts.
Step 2: Choose or create the Avatar
Avatar is important it can represents you or your department and your university.
The tool I used is called “midjurney”. It is a powerful but tricky tool to use if you don’t know prompt. It has a commend called imagine. It takes natural language like prompts and a photo as input. It can generate amazing avatars . Again, you need to learn how to use it and how to issue proper prompts. It takes many trails.
Here are the images gnerated using “Midjurney”.
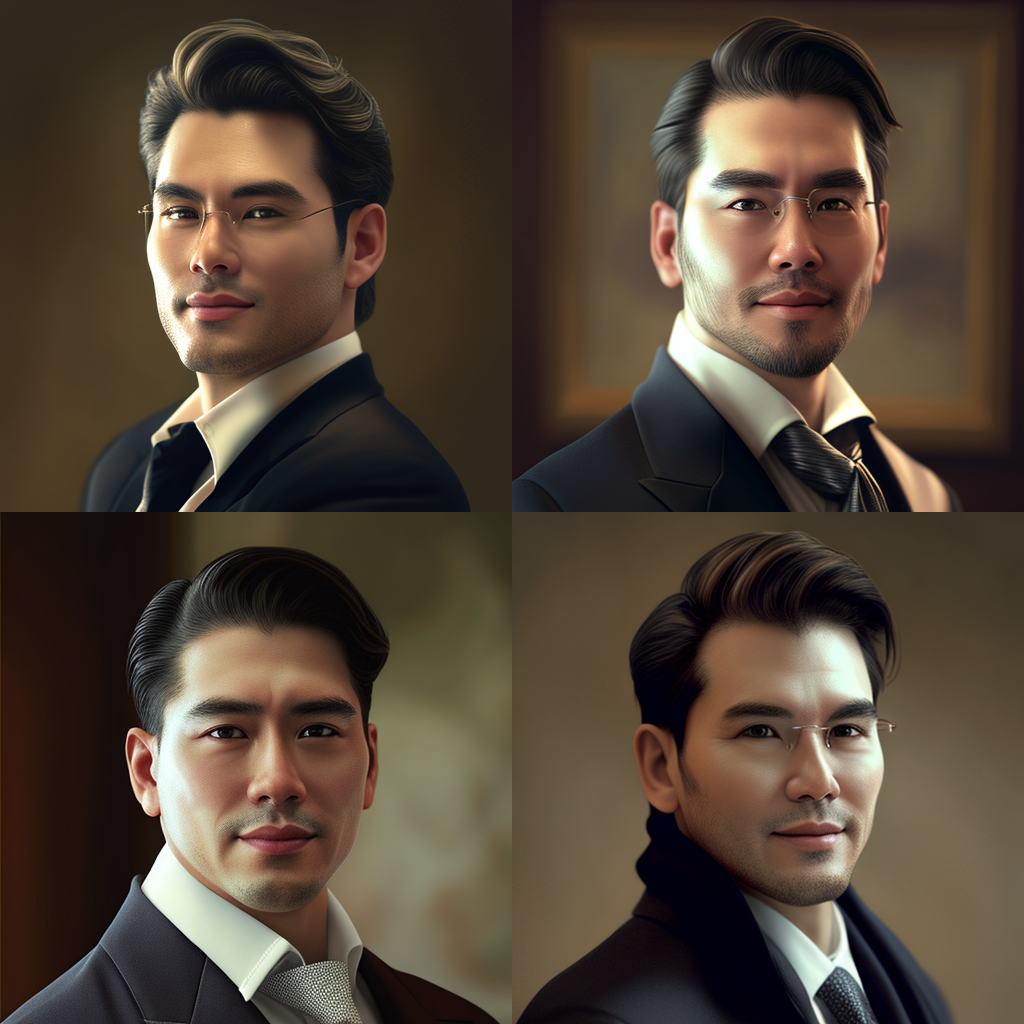
You can choose to upscale or fine tune the image you generated until you are happy. For exmaple I have chosen to use the bottom-left image. The next step then is to remove the backgrounds from the Avatar that way after we generate the video we can add in our own background and create our own settings. There is a ton of free background removal software out there one I’ve been using lately is express.adobe.com they have one that you can use for free. After you remove the background what you want to do next is actually add in a green background to your avatar that way it’ll make it a lot easier to remove the background again after we actually generate the video.
Here are the avatar I have been using and the green backgorund added.


Step 2: Record or Gernate Your Audio
Once you have chosen your avatar, it’s time to record or generate the audio for your video. You can use a microphone to record your voice or upload pre-recorded audio. Since we have script already generated, I am using another AI gernative model to produce the audio file. It is also populer to use any other “text-to-speach” tools. The web application I used was “Play.ht”.
Play.ht allows you to get 300 words for free whenever you first sign up so if you’re wanting higher quality audio I would definitely recommend checking it out once you get logged in to play.ht you can just click create audio and I would recommend selecting use ultra realistic voices and from here you can simply just paste in the script that you copied previously from chatgpt. From here you can try out the different voices and find which one works best for you.
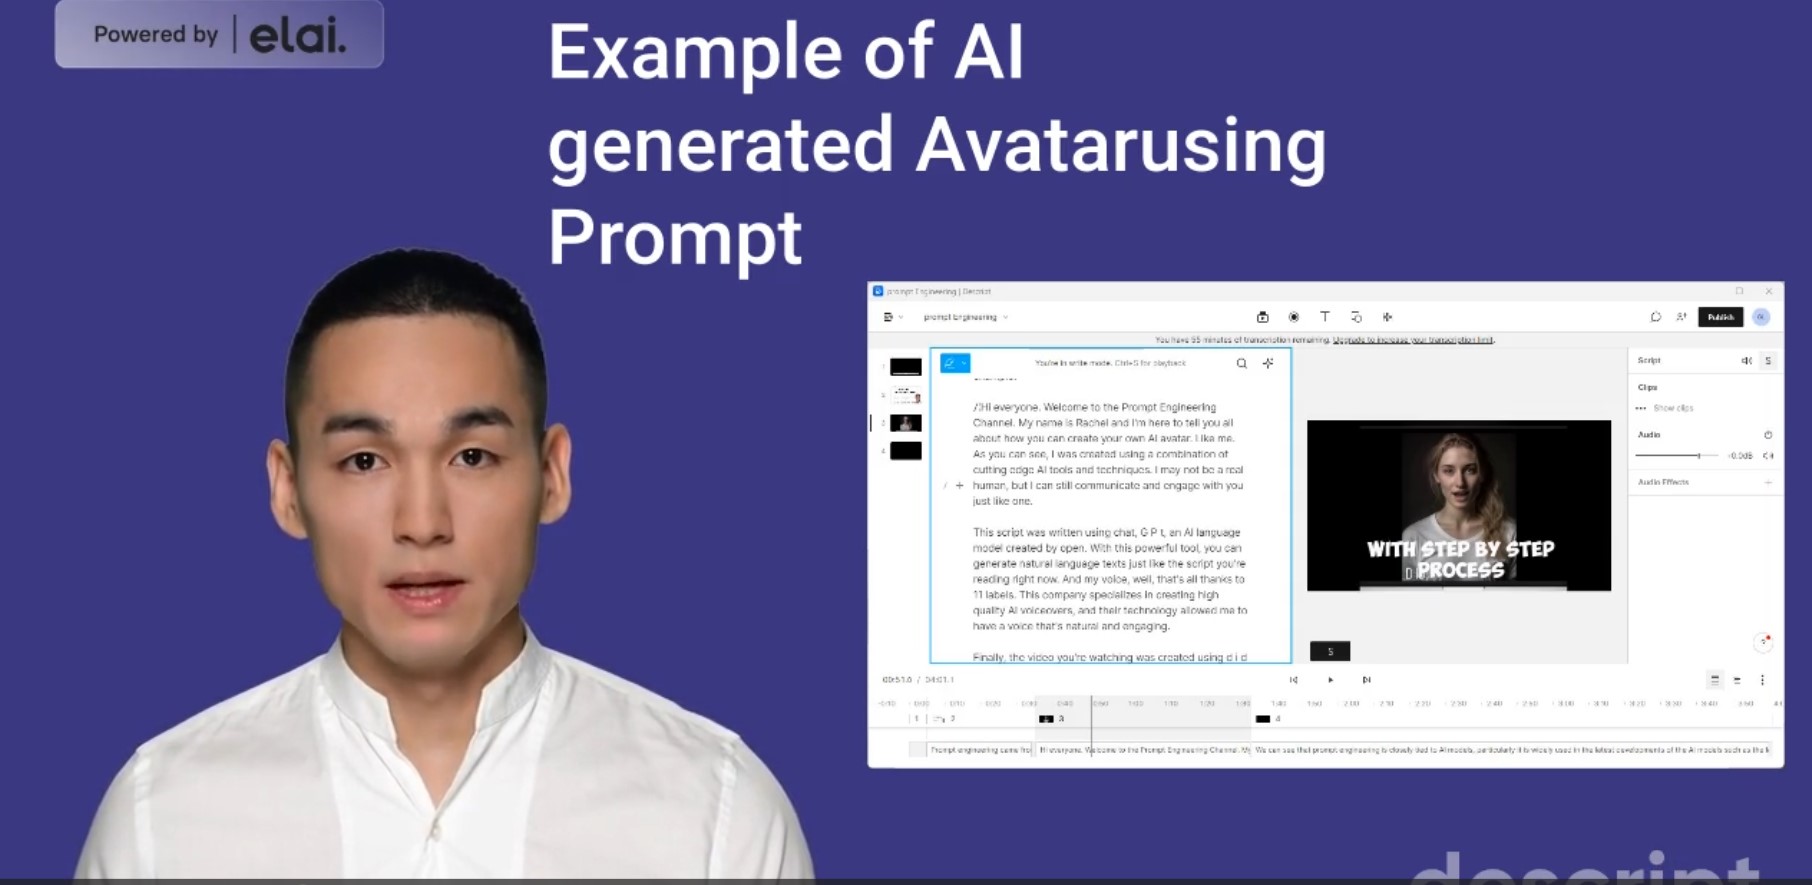
Here is an example of the voice generatred useing Play.ht
Another software I have used is called “llElevenLabs”. It is specialised in creating high quality AI voice-overs and their technology allowed me to have a voice that’s natural and engaging.
Here is an example of the voice generatred useing llElevenLabs
Step 3: Animate Your Avatar
Now it’s time to do the fun part - animate your avatar! We will make a video that using our Avatar to speak out our audio file.
The website i was using is called “D-id.com”. Once you get logged in you just want to go ahead and click on create a video this is where you’ll upload a photo of your avatar, you just click add and then if you used a different website to generate the audio you can go ahead and upload the audio right here. You can certainly use the voice generated by D-it too. In the later case you just need to uploas the script. I used the audio file I have genrated earlier.
Here is one of the clips that I have produced.
There are many other animation tools make it easy to create lifelike movements and expressions for your avatar. You can choose from a variety of pre-made animations or create your own custom animations to give your video a personal touch.
Step 4: Choose and add Your Background Videos
A high qulity video needs a wide range of background.These backgournd video forms the main contents fo the video. Avatar is just a personalisation of the video. You can choose from a selection of pre-made backgrounds or create your own custom background using your own images or videos.
There are also many comercial and free video avalaible for use. A good practice is to collect some nutral video so you can have a library of video when you need them.
Step 5: Editing and Finalize Your Video
Once you have finished animating your avatar, it’s time to finalize your video. You can use varity of video editing tools. I have been using a video editing software called “Descript”. I use it to edit and remove video backgourd and add new back gorund. If you have a video clip that you want to use. It is a good idea that to set your video backgournd as Green. in thsi case you can add your green backgoured Avatar, so it looks like your Avatar is integrated into ther backgourd video.
You can preview your video and make any necessary adjustments before exporting it as a high-quality video file. You can then share your video on social media, your website, or use it in your digital marketing campaigns.
Last updated: 10/05/2023